
Braided Part Hair Tutorial
If you're not familiar with the look, say hello the braided part! As soon as we laid eyes on the braided part trend, we knew we had to recreate the look ourselves. So today we've served up a full tutorial on exactly how to get the style!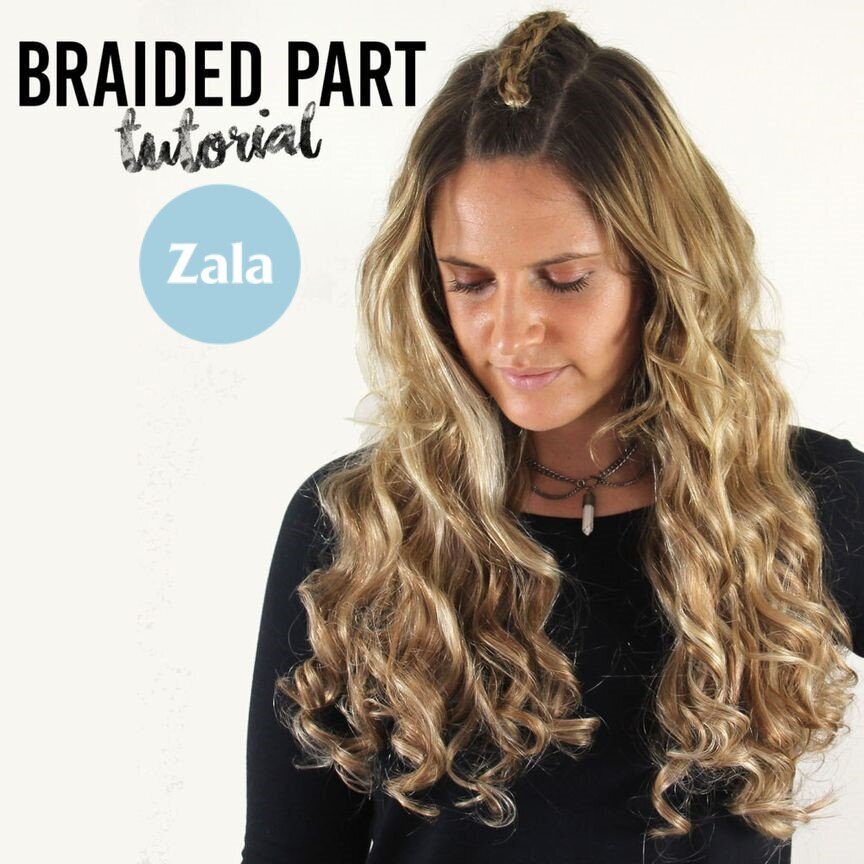
BRAIDED PART TUTORIAL - ZALA HAIR
Not only are braided partings the perfect boho hairstyle, they're super quick and easy to create. Which is why we'll definitely be rocking braid parts this festival season and all through summer!
- To start your braid, section of the hair on either side of your hair's parting. You can take this as wide as you like, but for this look we took around an inch and a half section.
- Next, split the section horizontally about a third of the way back. Split the section again into three equal parts to begin your braid.
- Create a french braid, add pieces of hair from the section underneath as you work your way back. Once you've reach the crown of the head, continue with a regular braid. Keep going until the entire section is braided.
- Then, double the braid over itself to sit directly on top. Pin in place with bobby pins at the front and twist the ends of the hair so they are positioned neatly out of sight.
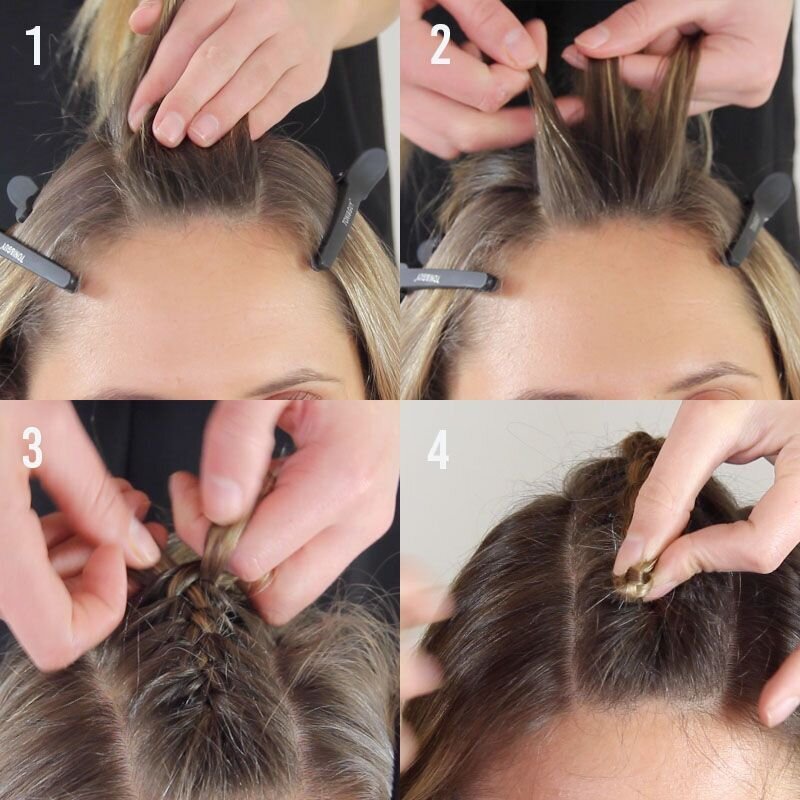
- Use your fingers to pull and loosen the braid to create a little more volume.
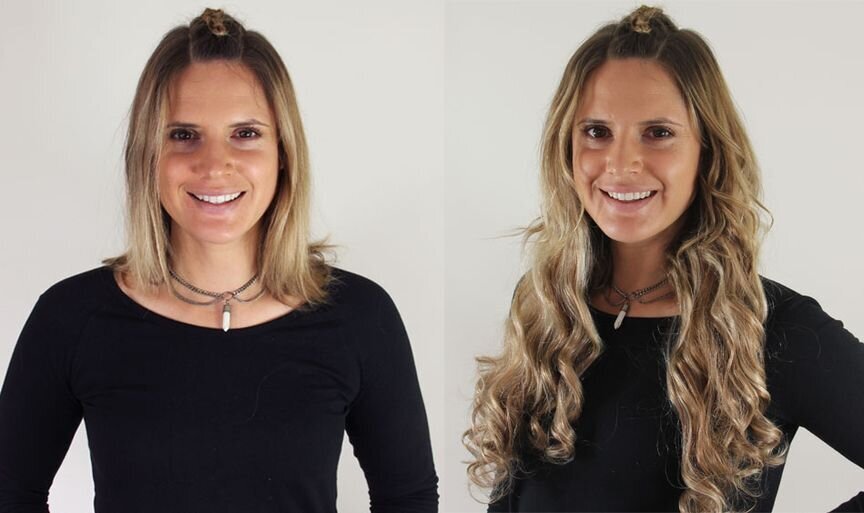
- Finish the look by applying your ZALA clip in hair extensions & styling to taste. For this look, we've curled our girl Mel's hair using the ZALA Cosmo Wand 9-18mm attachment.
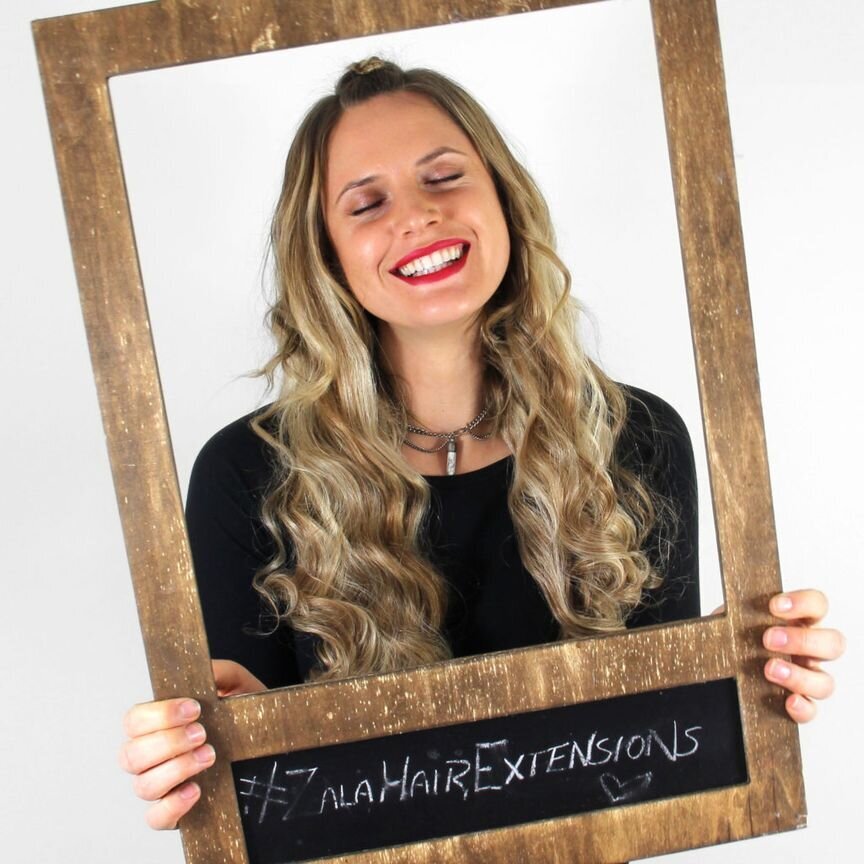
And there you have it! We are seriously in LOVE with this super easy braided part look. What do you think? If you recreate the look with your ZALA's, don't forget to use the hashtag #zalahairextensions so we can see your shots wearing your ZALA locks!
August 16, 2016