How to Cut Hair Extensions
Having a little trouble blending your hair extensions? Or do you prefer a more tapered, layered look when it comes to your locks? We've got you girl! Check out our full guide on how to cut hair extensions so that you have the most blended, natural looking tresses.
HOW TO CUT HAIR EXTENSIONS
Although ZALA hair extensions come ready to be worn straight out of the pack, a little trimming and layering can really help you achieve the most natural look once applied! You may also want to cut your hair extensions if you prefer a more tapered, layered look, as ZALA hair is super thick to the very ends. So, let's get right into the essential cutting techniques to blend your hair extensions!
TECHNIQUE #1 - SLICING
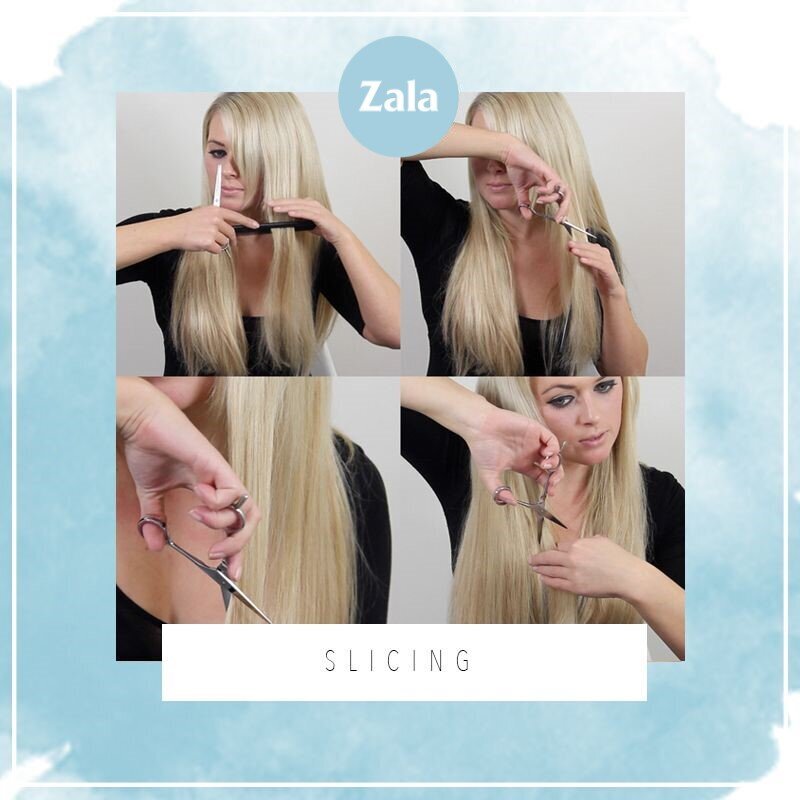
First up, slicing! This technique is perfect for adding shape around the face. To layer the front pieces, start by locating where your natural hair ends which will indicate where to start cutting. Then, hold a section of your hair extensions between your fingers and gently start cutting downwards in a slow diagonal motion. When cutting, it's super important to always keep your scissors moving with the blades open!
TECHNIQUE #2 - POINT CUTTING
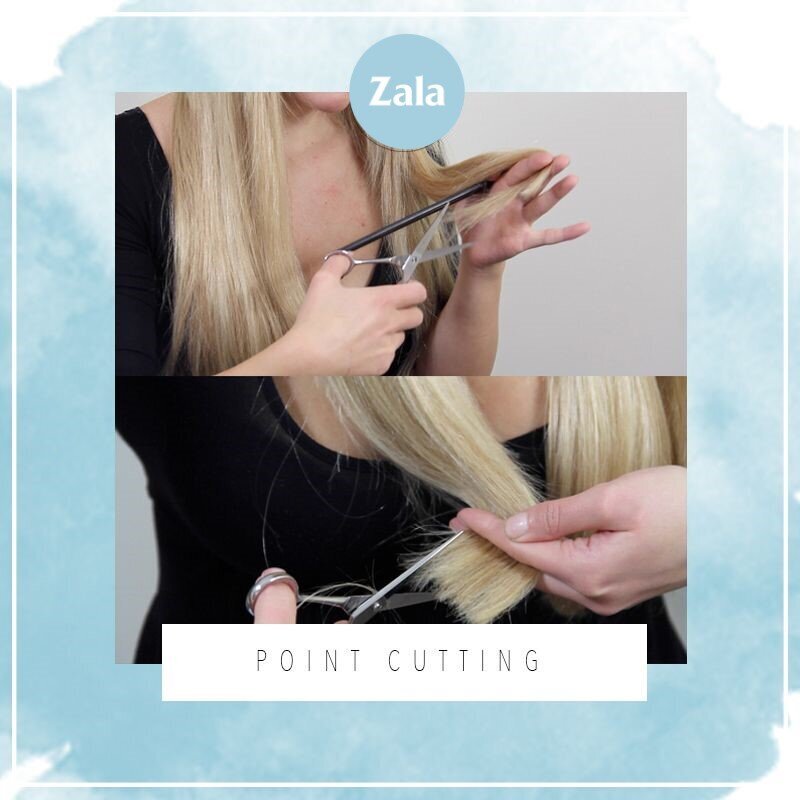
Next up, point cutting! This is used to feather out the ends of the hair and is ideal for getting rid of any blunt lines. To point cut, take the ends of your extensions and cut straight up into the hair. When using this cutting technique, it's essential you're cutting straight up and in line with the hair to ensure you're only taking out thickness and not length.
TECHNIQUE #3 - SLITHERING
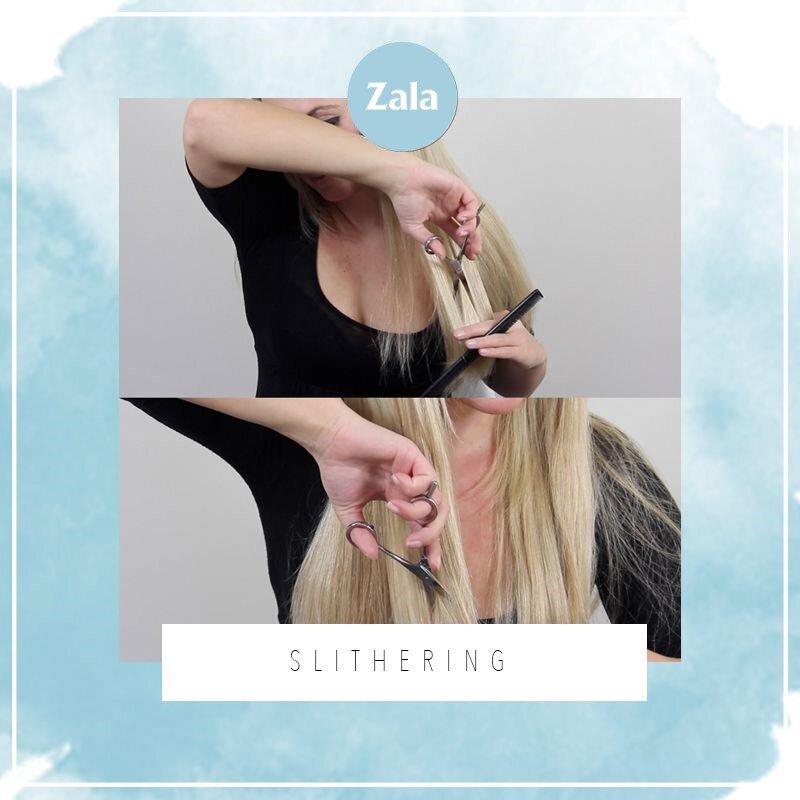
Very similar to slicing, the slithering technique removes bulk to create more feathered locks. It's also great to create really subtle layers throughout the hair. When 'slithering', take a section of hair and cut down the middle, using the same motion as the sliding technique. Again, always keep the blades open and moving! Where the sliding technique is perfect for your front layers, slithering is more ideal for layering the rest of your extensions to create a more tapered look.
TECHNIQUE #4 - BLUNT CUTTING
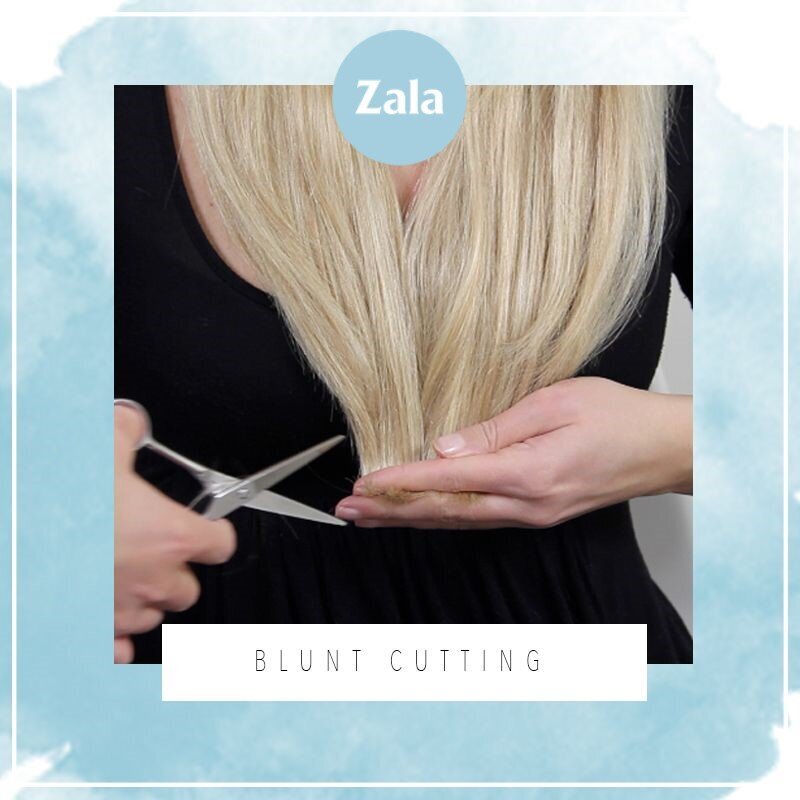
Lastly, blunt cutting! After layering and shaping your extensions to taste, you may end up with slightly wispy or uneven ends. This is where blunt cutting comes in handy! Simply pull all your hair to the front and hold your hair using your fingers as a guide. For a more blunt look, cut straight across or if you prefer a slightly softer look, use your point cutting technique.
And there you have it - everything you need to know on how to cut hair extensions! Remember, if you are unsure or not confident cutting, always take your extensions to a professional to ensure you achieve the results you desire :) Please don’t hesitate to contact our friendly support team at [email protected] if you have any questions regarding blending your ZALA's.