
How to Remove Tape In Hair Extensions
Let's talk how to remove tape in hair extensions! We love tape extensions at ZALA for so many reasons - in particular, how easy they are to remove without any damage to your natural hair. Want to know how? Read on for our full guide, video tutorial as well as important tips & tricks.
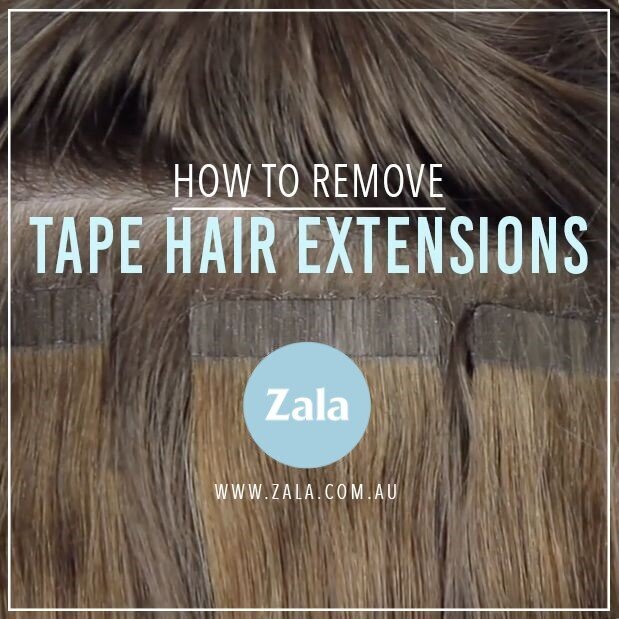
HOW TO REMOVE TAPE IN HAIR EXTENSIONS
After around 6-8 weeks of wear, you'll notice the tapes will have moved down a few centimetres due to the growth of your natural hair :) It's important to remove and re-apply your tapes so that you prolong their lifespan and get the best results. You will need:
- Tape adhesive solvent - ZALA solvent is the only solvent we recommend to remove tape hair extensions.
- Sectioning clips
- Tail comb - this is optional, but can come in handy for separating pieces.
- Start by sectioning off your hair to locate the tape pieces.
- Spray a generous amount of ZALA solvent directly onto the tape tabs and let this sit for at least 1-2 minutes.
- Then, use your fingers to carefully separate the tape pieces. Keep applying solvent until the tapes come apart easily and slide right out of your hair. This is super important to ensure all pieces are safely removed without any damage :)
- Sandwich both pieces together and set aside before repeating this method on the rest of your extensions.
- Once all pieces have been removed, give your natural hair and the extensions a good shampoo & condition to remove any leftover adhesive and rinse out all solvent. Please note: as ZALA solvent is oil based, it may take 2-3 shampoo's before all solvent is removed.
And you're done! You're hair extensions are now ready to be re-applied. Did you know, you can re-use your ZALA tape hair extensions 3-4 times? Yep! We have a full guide on exactly how:
Shop the full range of ZALA tape hair extensions HERE.